THE BEAUTY OF IMPERFECTION
DESIGN CONCRETE
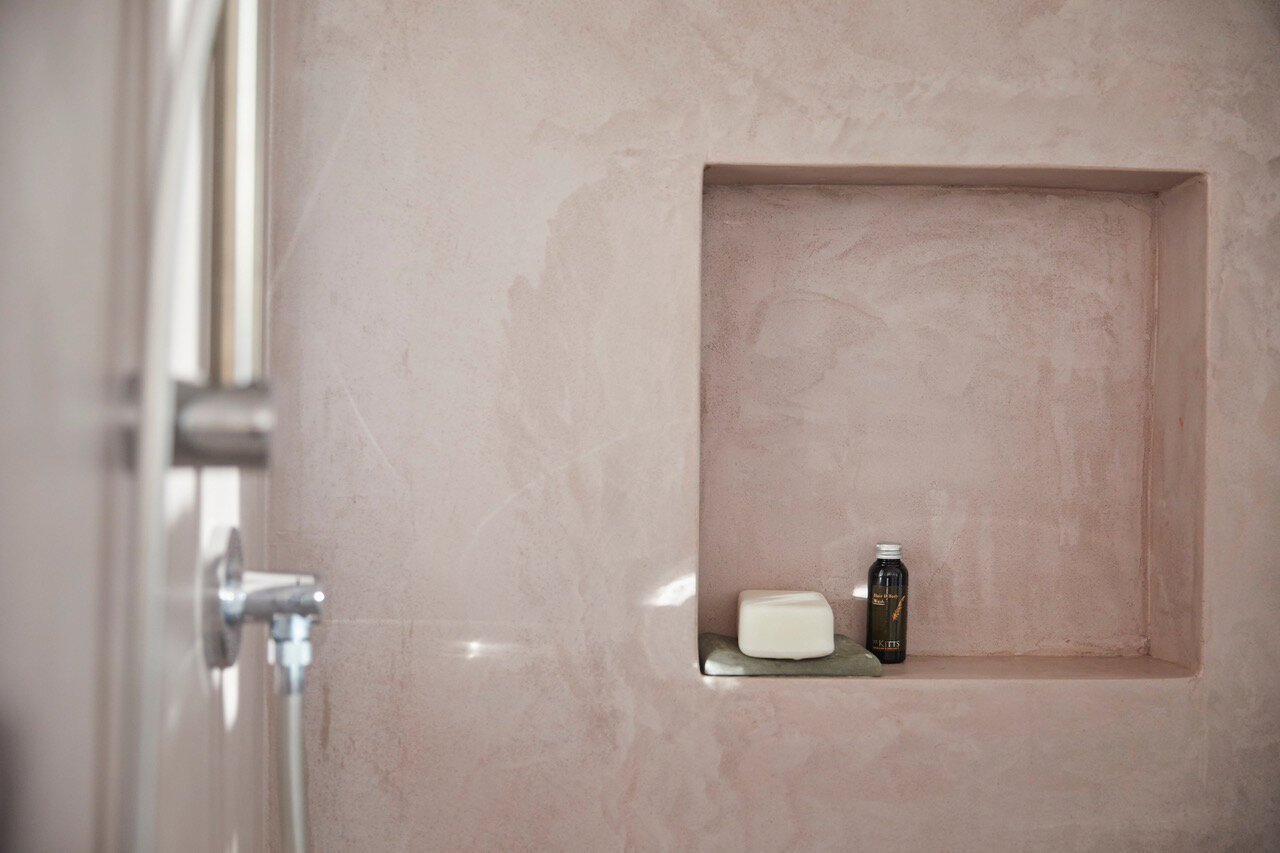
Our mixture of portland cement, silica sand, polymer resins, with natural pigments creates a thin layer of plaster and coating to create a polished finish to your room.
HOW TO APPLY DESIGN CONCRETE
Download Instructions here [Application Guide]
The substrate must be stable, free of oily stains and dust, without cracks and completely flat. It is imperative to cover joints/uneven surfaces with a mash, levelling compound (Rough coat/Ultrafibre and can be ordered).
It’s vital to apply sealer to prevent top coat from soaking into the substrate, to create a water-resistant layer between the substrate and topcoat.
STEP 1: PREPARATION OF THE SUBSTRATE
Apply at a criss-cross.
Allow to dry for at least 1 hour before applying the concrete.
Tip: For non-flat substrates or tiles, the surface must be first evened out with coating (e.g: tile glue, levelling compound or ultrafibre) to make it flat
STEP 2: PRIMER
In a bucket, mix all the colour pigments with 3 liters of water, using a mechanical mixer. Take a quantity of pigmented water, then add the required amount of concrete powder, mixing to obtain an homogenous mixture.The exact amount of pigmented water for 10kg of concrete is 2.7 L. The remaining water is redundant.
If your mixture is too hard, add more pigmented water.
STEP 3: MIXING THE PIGMENTS
Apply a first layer using a trowel or a smoothing blade maximum 1mm thick.
STEP 4: PART ONE, FIRST COAT OF DC
The second layer can be applied while the surface is still wet.
Once dry, wait 24 hours to smooth the concrete. Sand it down with a 120 grit sandpaper
It is advised to use an orbital sander. Before proceeding to the next step make sure the surface has been vacuumed and that it is dust-free and dry.
STEP 2: PART TWO, SECOND COAT OF DC
Apply a very thin coat of sealer (satin) twice at a criss-cross. Total drying time: 24 hours. If you are using the satin varnish, apply 2 or 3 layers at a criss-cross and wait for 24 hours for the surface to completely dry. If you are using the resin mat varnish, mix resin A with compound B. Apply very thin coats (2 or 3 layers) at a a criss-cross and wait for 24 hours for the surface to completely dry.
STEP 5: TREATMENT
RECENT PROJECTS
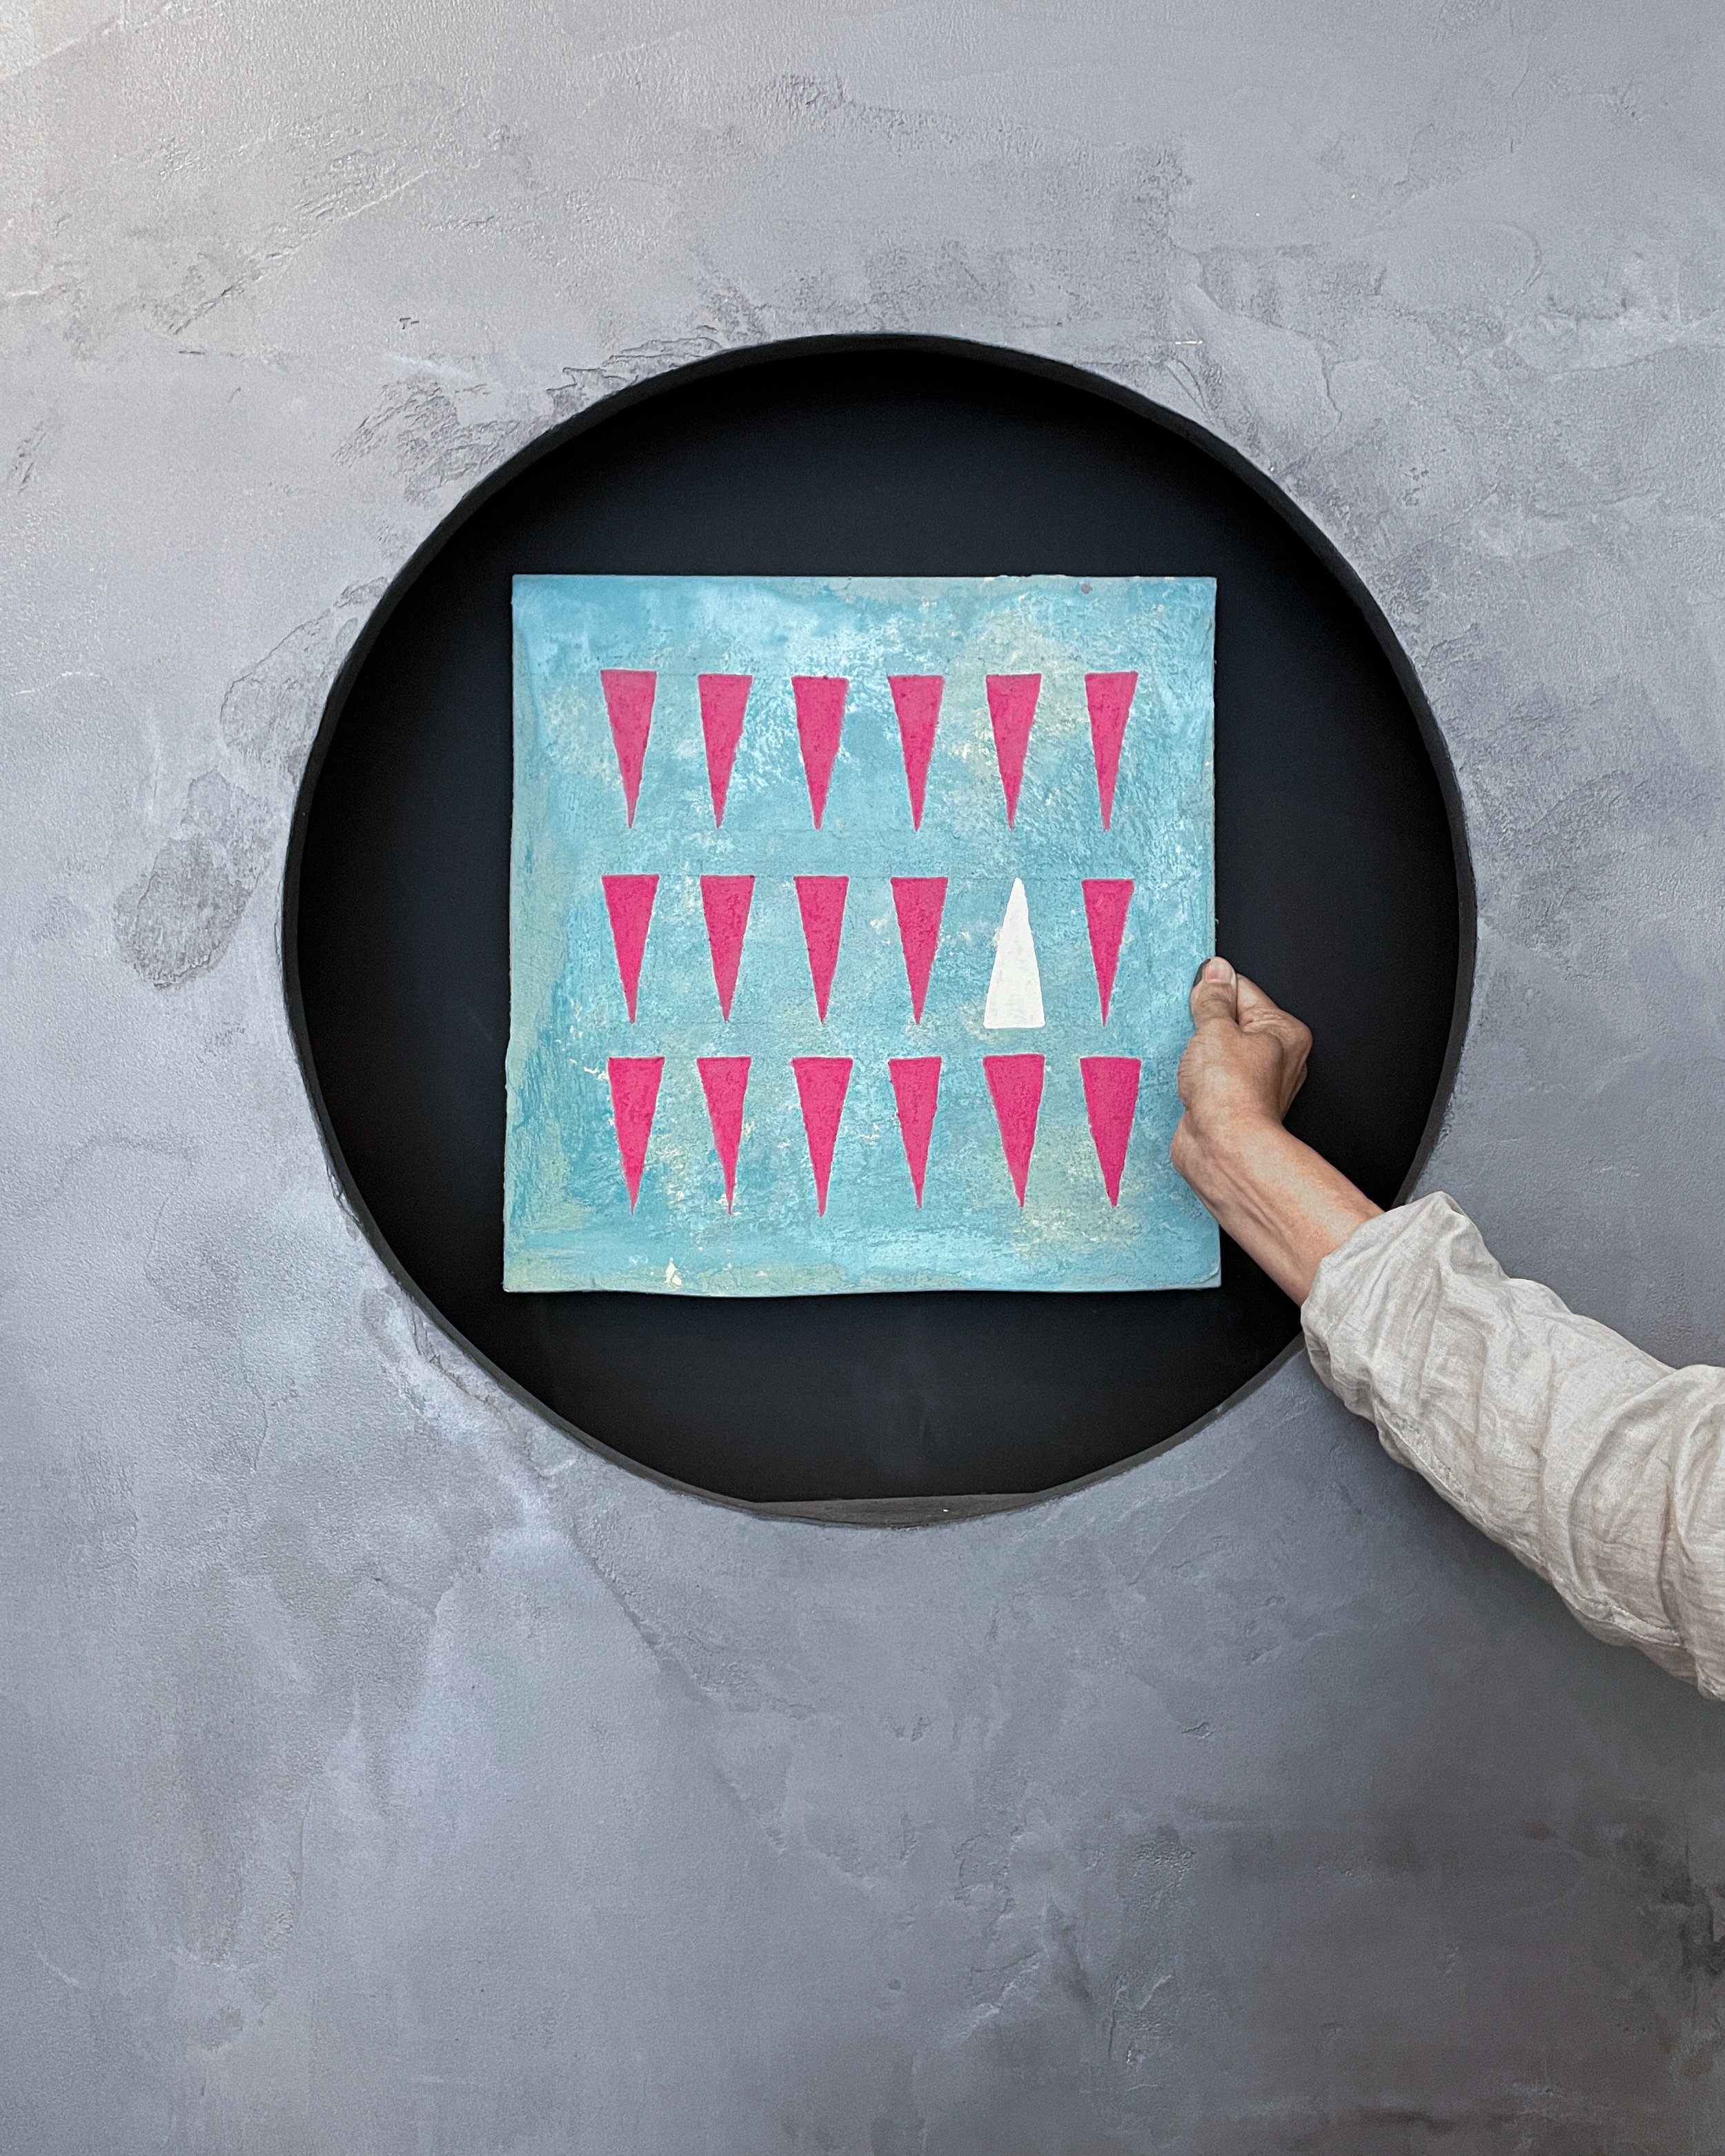
BESPOKE ART
We create unique art pieces using our DC. Enquire about specific design ideas and we will bring them to life.
FAQs
-
It's a Seamless and Waterproof Microcement. It works as a plaster that creates an luxurious ambient finish on any hard surface like floors, walls, exterior, interior, toilets, bathrooms and many various objects.
-
No, we supply the materials mix to create your plaster.
-
Design Concrete microcement is a decorative coating made up of cement, water-based resins, additives and mineral pigments that can be applied to a multitude of vertical and horizontal surfaces thanks to its great adherence.
This construction material stands out because it is placed directly on the existing material: tiles, plasterboard, tiles, marble, terrazzo or plaster, among many others. With barely any work and a thickness of only 3 millimeters, a quick renovation of spaces is achieved.
-
The decorative solutions of microcement are endless. Hence its uses are so varied. From microcement stairs or microcement pools to furniture coated with microcement. Although the quintessential use of microcement is on floors and walls of kitchens, bathrooms and outdoor spaces like terraces.
-
Microcement is an elegant and versatile choice for coating surfaces and giving them a modern and durable aesthetic. However, its proper maintenance is essential to preserve its beauty and functionality over time. Just like with other delicate surfaces, such as natural wood parquet floors, the appropriate care of microcement requires attention to certain details.
1. Do not drag furniture: When moving chairs, tables and other furniture on the microcement pavement, scratches or marks can occur. It is essential to lift and support, never drag. And, in any case, always use felt stoppers on the legs of the furniture to protect your microcement floors. It is recommended to avoid furniture with pointed legs, as they will cause damage to the microcement surface.
2. Avoid blows and falls of sharp objects: Impacts can cause chips or notches in the coating, compromising its integrity and aesthetics. It is recommended to handle sharp or pointed elements carefully, as well as to avoid dropping objects on the microcement. It is advisable to implement preventive measures in certain situations to avoid damage, such as the use of coasters for hot objects or protective blankets during the handling of heavy furniture.
3. Do not use cheap adhesive tapes: The choice of low-quality adhesive tapes can result in the removal of sections of the surface, which will leave unsightly marks and glue residues that will attract dirt. Opting for guaranteed quality tapes is essential to maintain the integrity of the microcement surface.
4. Preventing heat marks on countertops: Microcement is a popular option for countertops, but it is very important to avoid placing hot pans or pots directly on the surface. Objects at high temperatures can leave marks on microcement countertops, something that also happens with other materials such as quartz or granite. The use of suitable boards or supports will help to avoid unwanted marks.
5. Use recommended cleaning products: We recommend the exclusive use of cleaners and maintenance waxes. The use of non-recommended products can cause problems on the surface of the microcement, compromising its durability and appearance.
-
Usually the colours look different due to different lightings, in order to get a better look, feel free to order the test kit before deciding on a colour.
-
It's an affordable way to create a luxurious finish protecting the surface from rain and water. It can be applied on floors, swimming pool, bathtubs, sink and many other surfaces...
-
The product itself is like a coating or paint. There is an instructional video you can watch at our homepage or download the Instruction manual or video at the same place.
-
We collaborate with your trades team, providing them the necessary kit to apply the plaster.


